

Here are 9 ways to play with your wooden letters From Jennifer:
- Stack and build
- Match letters to beginning sound objects
- Spelling
- Stamp in play dough
- Fill puzzle base with loose parts
- Trace the letter grooves in the puzzle base
- Crayon rubbing
- Match uppercase and lowercase letters
- Sort vowels and consonants
Products shown in photos:
- Alphabet Puzzle - Lowercase
- Alphabet Puzzle - Uppercase
- Alphabet Letters - Lowercase
- Alphabet Letters - Uppercase
- Small Wool Balls
- Thin Tracing Stick
- Tumbled Polished Stones
- Play Dough Recipe
- Stockmar Crayons
-
Schleich Animal Toys
- Alphabet Objects Coins
Free PDF of all ideas compiled together: Download Here

1. Stack and Build
The youngest explorers will take all the letters and feel them, clink them together, and use them as wood blocks--stacking and building towers. This introduction to the alphabet is a wonderful way to give children the shapes without drilling into them what each one means. As they become more inquisitive and ready, you'll pull a letter from their pile and tell them it has a sound and name. You'll show them how to orient it properly and where it resides in the alphabet. You'll mention there are two shapes for every letter--an uppercase and a lowercase.
2. Match beginning letter sounds
When learning the sounds of letters, you'll review words with your children and ask them what sound they hear at the beginning. C-a-t. "C" is the sound for the letter c. Your child will find the letter. If you have objects in your home you can gather together, use those to then place the letter by the object with that beginning sound. Think of any toys you have or objects--candle, hammer, fork, cup, pen, book, basket, window, door.
Our Alphabet Objects Coins pair well with this activity.

3. Spelling
Use the letters to spell words. Start out simple with CVC words (consonant-vowel-consonant). Also work together on word families by setting up the two ending letters and having an assortment of beginning letters to switch out with them to create new words. For instance, you'll set out -at and then have a pile of letters including b, c, f, h, m, p, etc. The child chooses from the pile and places it in front of the -at to create a word: bat, cat, fat, hat, mat... You could then have them play with changing out the ending letter and see what words they might encounter.
4. Use as play dough stamps
Stamping the letters into play dough allows you to reuse letters in the same word (for words that might have two of the same letter, such as "week"). This also allows you to create ongoing word family lists in the play dough so that you can see all of the words together.
An additional element of fun is to then give your child tumbled stones, dry beans or corn, or wood balls, etc to then place into the grooves in the play dough to decorate the words.

5. Fill the puzzle base with loose parts
Gather together some fun little bits and pieces for filling up the puzzle base. The small wool balls we offer squeeze in just right and are quite satisfying to push in place. The tumbled stones are a beautiful material to work with. You can also use dry foods such as beans and corn.
6. Trace the puzzle base
Using our Thin Tracing Stick, you can use the base like a letter tracing board. Follow inside the grooves of each letter to practice writing them.
7. Crayon rubbing
By positioning a piece of paper over the letters you want to capture, you can gently rub across the paper and reveal the letter underneath. Then move the paper around the board to spell out words with your crayon rubbing. Once the words are done, you can present them to your child with a stick crayon for them to trace inside the rubbing and practice their spelling and handwriting skills. Also, consider drawing pictures on, in, and around the crayon rubbings. Turn the C into a cat, the H into a house, the S into a snake.

8. Match uppercase and lowercase letters
If you have both uppercase and lowercase letter sets, this is a great activity for children to master matching them together.
9. Sort vowels and consonants
When learning the alphabet, introduce your child to the different vowels and consonants and have them sort them into their own piles. You can then pull from each pile to create CVC words.

Thank you for reviewing the ideas I've shared here and I hope you've found some that get you excited for playing with your Wooden Alphabet Letters From Jennifer! Remember you can scroll back to the top to see all the links for the items I've included in my photos and you can download a sheet of all the ideas compiled together for quick, easy reference:
Free PDF of all ideas compiled together:
Download Here
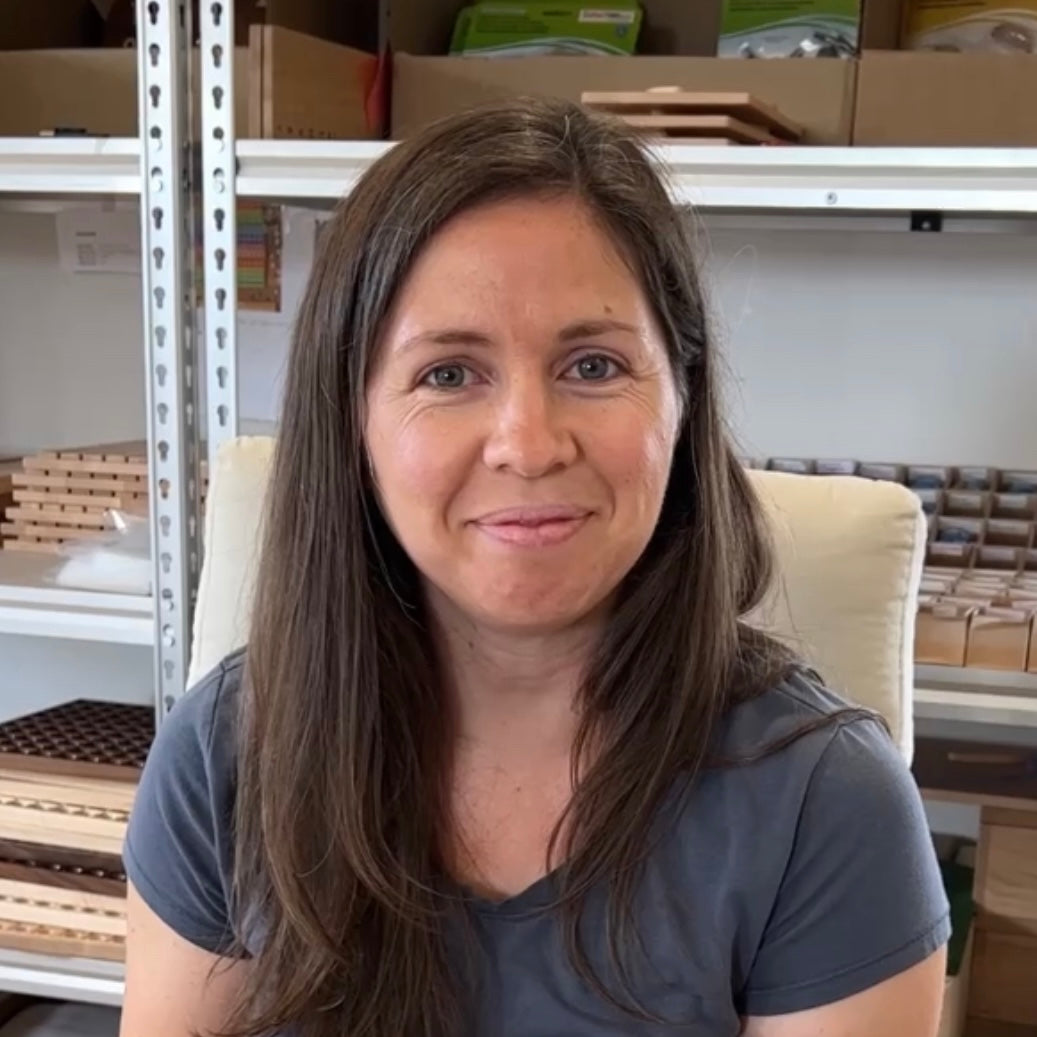
Hi, I'm Jennifer!
Mother to five children, wife to my amazing husband Joe, and we are honored owners of "From Jennifer" where we design, create, and ship our wonderful wooden educational toys and more. Each item we offer is created to bring a natural beauty to your space and inspire a love for learning. In my blog, I will strive to share creative ideas of how to use them along with other information, product releases, and updates around the shop. Please let me know in the comments if what I'm sharing is helpful!
0 comments